How to set up a VPN on iPhone
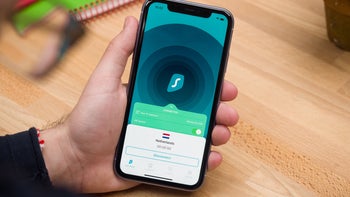
Advertorial by SurfShark: the opinions expressed in this story may not reflect the positions of PhoneArena!
In our daily lives, we often connect to Wi-Fi networks in hotels, cafes and airports without much thought. But our strive to conserve high-speed-data allowance might cost us dearly.
Our phones are a treasure trove of valuable data that hackers want to get their hands on and unsecured wireless networks are one potential attack vector. That's where VPNs come in.
But what does VPN stand for? VPN is short for Virtual Private Network and it's an intermediary between you and the rest of the internet. It can filter what's reaching your device and what data is going out from it, giving you anonymity and security.
That's the reason VPN services have become so popular lately. They are a great way to keep yourself safe online, but few people know they offer a lot more than that.
What does a VPN allow you to do?
- Watch streaming sites without the annoying lag
- Play games without being slowed down by your ISP
- Watch streaming videos in other countries
- Deny eavesdroppers
- Shop while you’re overseas
- Unlock regionally-restricted content
- Connect to Wi-Fi safely
- Research your competitors without being detected
- Safeguard your VOIP info
VPNs are dime a dozen, but if you're looking for a good, user-friendly, feature-rich and affordable VPN for iPhone, visit SurfShark from the link below:
Setting up a VPN on your phone might sound intimidating if you've never done it before. iPhone users can do that manually from the Settings menu then VPN, but if you get a VPN app, it will do all the work for you, no hassle at all. Don't believe us? Check the steps below:
How to set up VPN on iPhone using SurfShark
SurfShark is super easy to install and you'll have it up and running in no time. Here are the steps you'll go through:
- Go to the App Store and search for SurfShark.
- Install SurfShark: Secure VPN Proxy.
- Sign up for a new account with your email and a secure password.
- Select your subscription plan. You have a 7-day free trial, after which you'll be billed according to your plan.
- After you select your plan you'll be asked to give SurfShark permission to change your VPN settings, tap Allow.
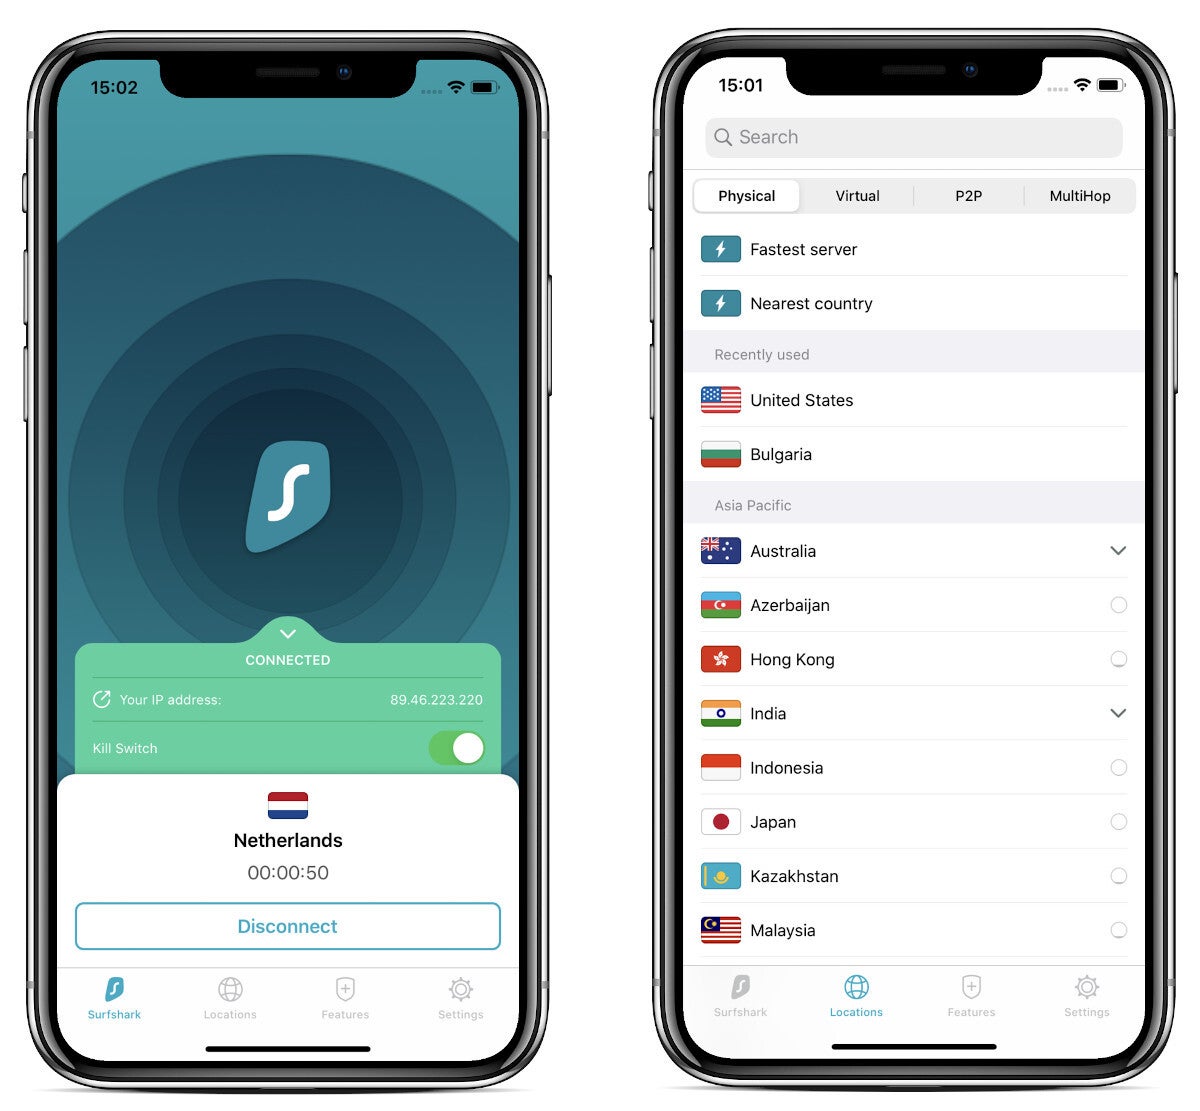
- You'll be connected to the internet through SurfShark automatically. You can disconnect at any point from the button within the app.
- If you want to change the country through which your connection is rerouted, tap on Locations at the bottom and select one from the list.
- That's it, now your iPhone's internet connection is private and secured!
If you're new to the world of VPNs, you might encounter some terms that you're not familiar with. Don't worry, we have you covered!
VPN settings and features explained
Every VPN has a selection of features that you can choose from. These settings are built into the VPN. They are not part of the settings inherent to iOS 13. Some common VPN features you may find include:
NoBorders and Camouflage Mode
Sometimes you’ll want extra protection while you’re online. Camouflage mode lets you mask your activity from your ISP. NoBorders lets you access restricted websites in certain regions.Whitelister
Also known as “split tunneling,” the whitelist feature lets you decide which apps connect to the VPN and which are excluded. Some apps don't play well with VPNs, so you can let them use your regular connection while everything else goes through your iPhone's VPN.Multiple Devices
Services like SurfShark let you add an unlimited number of devices to your VPN account. Most VPNs will even let you use their service on multiple devices at the same time. As the account holder, you are considered an admin with the authority to decide which devices are and are not allowed on the account. If you’re a business owner, this is a great feature.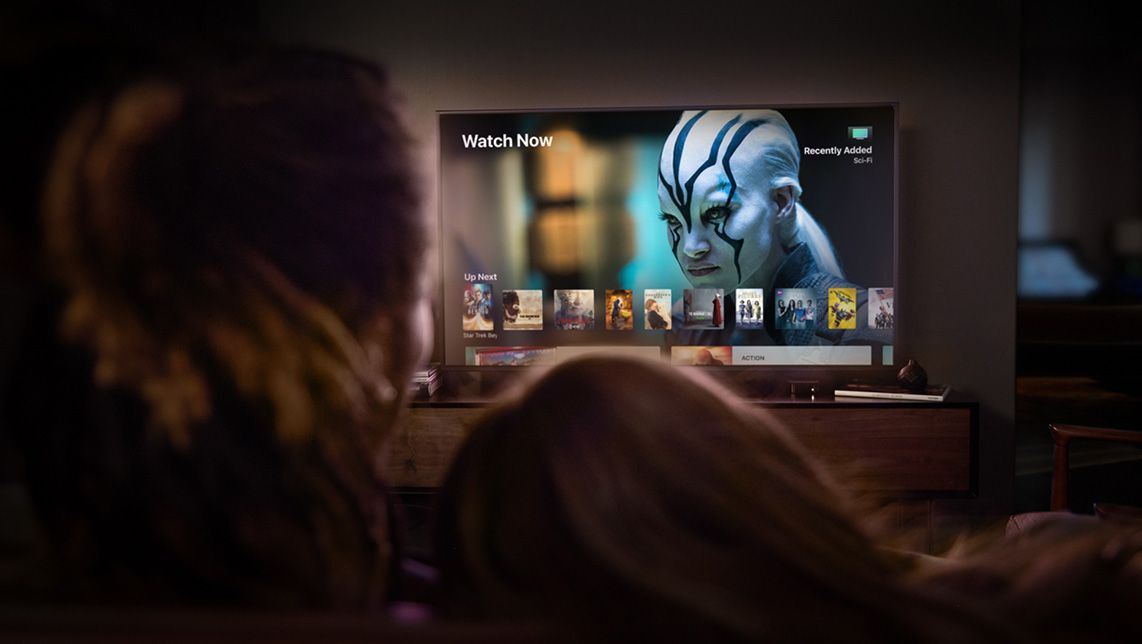
With a VPN you can say goodbye to geo-restrictions
Pop-Up Blockers
Some VPNs give you a tool to block pop-ups. This can save you a lot of wasted time clicking little gray Xs and it can also protect you from some kinds of malware. You can turn it on and off as you like since some sites won’t run unless you let them show you floating ads.Auto Kill Switch
Auto Kill Switch instantly cuts your device's internet off if the VPN stops working for any reason, preventing unsecured data from leaving your iPhone.Once you have your iPhone VPN set up the with your desired configuration, you're ready to enjoy the full benefits of a Virtual Private Network.
If you wish to protect your personal information and avoid arbitrary internet constraints, it might be time to try SurfShark. It's made it to many "Best VPN for iPhone" lists for a reason.




Things that are NOT allowed: