Apps Optimized: Facebook Messenger tips & tricks for iOS and Android
Note: This article has been updated to reflect the Messenger UI changes from January 9, 2019.
However, things changed dramatically in 2014, as Mark Zuckerberg & Co. separated the messaging functionality from the Facebook app, a move that basically forced all mobile users to chat through Messenger. This separation intended to improve the overall user experience, as the company felt that chatting from the main app was slow and lacking in functionality. Still, many users were disappointed by the fact that they now needed to use two apps instead of one.
Whatever your opinion of the split might be, it is true that Messenger has been enhanced with a plethora of features since 2014. By now, most of us know how to take photos or record videos for our stories, send voice messages and funny GIFs, or play games through the app. However, we feel that there are some useful functionalities that are not quite as well-known. Let's check them out!
Easily search your chat history

Did you know that the search bar that sits at the top of the main Messenger screen is actually one of the app's most useful features? Typically, most users rely on the bar to search for people or Facebook pages, but it also offers a very easy and convenient way of looking up specific things like words, files, or photos across all your conversations. Here's how to do it:
- Open up Messenger, and locate the search bar at the very top of the screen.
- Type in something you'd like to look up, then press "Search messages".
- You should see a list of all the chats that contain your search term. Choose the conversation you'd like to search and you're all set!
Use the super secret encrypted chat
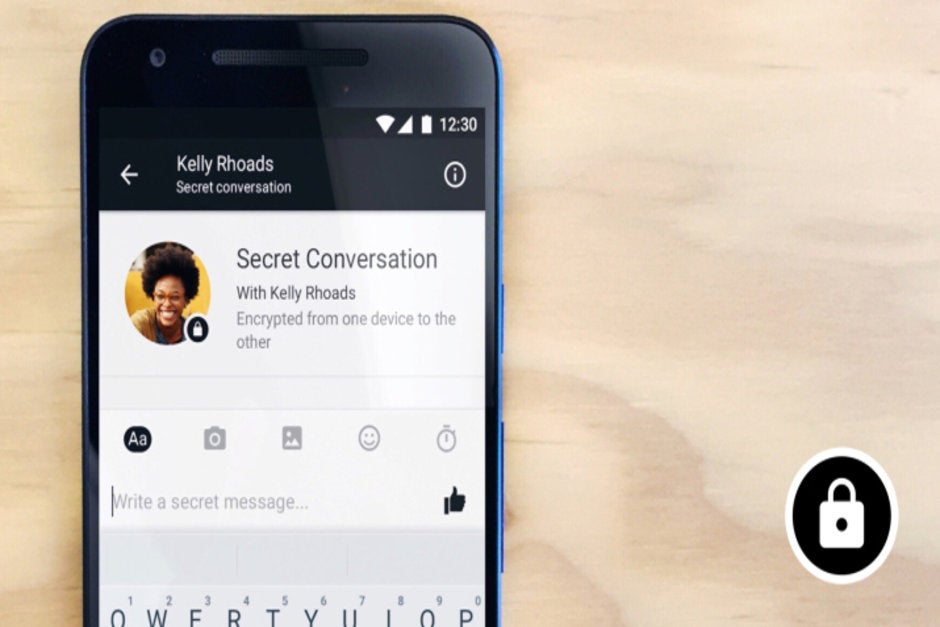
If you're looking to safeguard your chats, you can always use the "Secret Conversations" feature of Messenger. It provides end-to-end encryption thanks to the cryptographic Signal Protocol, but you have to keep in mind that this extra level of security comes with some caveats - you won't be able to send things like animated GIFs, archiving of conversations can't be done, and you can only use it on one device.
First, you have to make sure that Secret Conversations are enabled on your device. For iOS, tap your profile photo on the top left, scroll to Secret Conversations, and toggle it on. Android users need to tap their profile chat head on the top right, scroll down to Secret Conversations, and enable it.
There are a couple of ways to start a secret conversation, the most convenient for us being this one:
- Start a new chat: on Android and iOS - press the "New Message" button that's located at the top right of the screen.
- Then, toggle "Secret" on the top right, select the person you want to message, type your message, and send away.
The neat thing in Secret Conversations is the Snapchat-esque feature of setting a timer for your messages to disappear. Just locate the timer button next to the chat bar in this mode, and set your time limit. You can also disable the feature from the same place if you're not a fan.
Add and switch between accounts
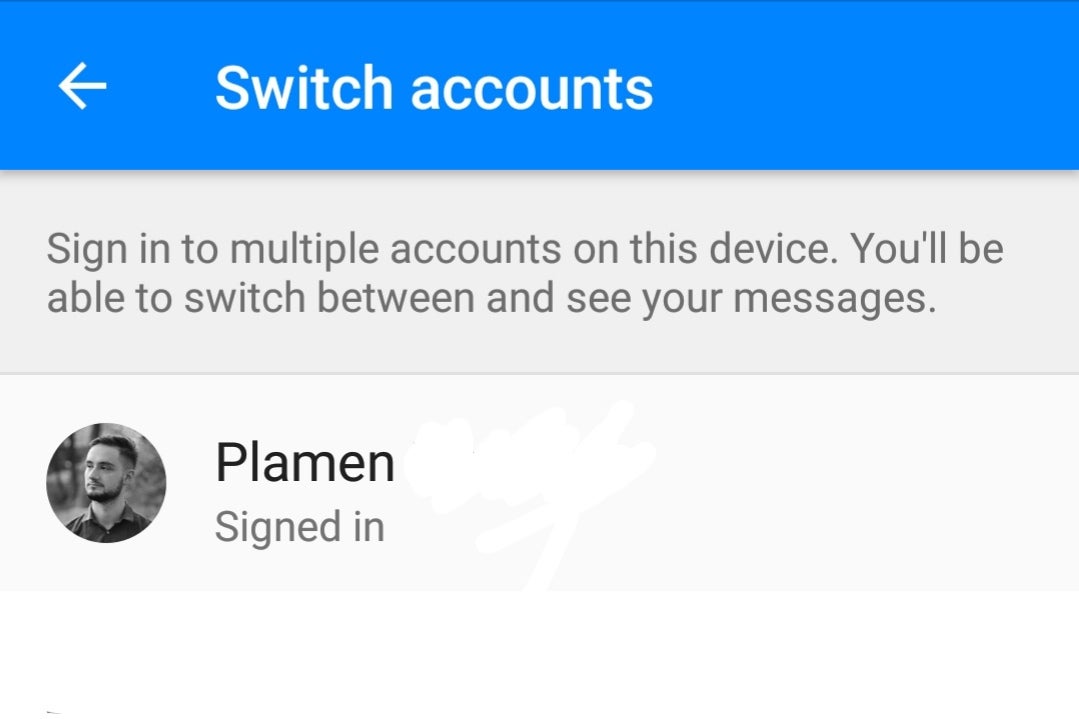
If you happen to have multiple Facebook accounts/pages or want to lend your device to a friend for a little bit, you can always add and switch between accounts in Messenger.
For iOS and Android, tap your profile photo on the top left to access settings, locate "Switch Account", and hit the plus symbol on the top right.
Tweak your notifications
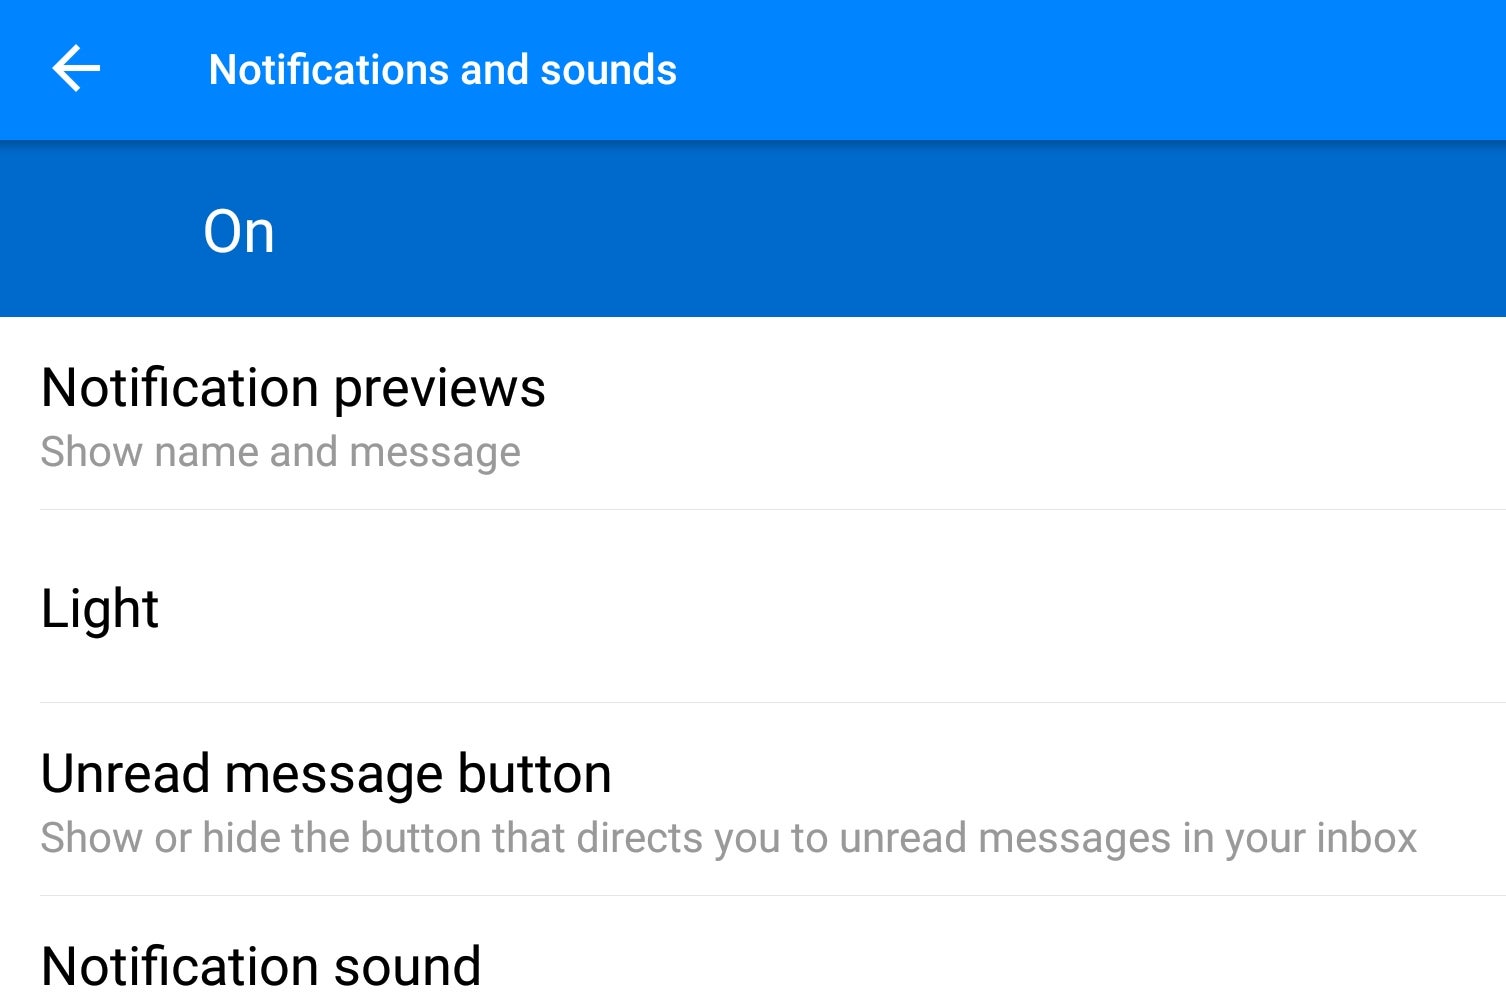
Facebook notifications can be useful, but most of us can agree that they also have the capacity of becoming really annoying at times. Especially if you have spammy friends or you're in group chats. As such, it's always a good idea to know how to manage them and avoid distractions for the times that require you to be focused.
To do so, just click on your profile icon, then access "Notifications and Sounds". Here, you have toggles for notification previews, lights, the unread message button, and can even select sounds and ringtones. For even more in-depth tweaks, check out the "Manage notifications" section. There, you can fully customize how your phone will alert you (or not) for the various types of notifications.
Get rid of the pesky chat heads (Android)
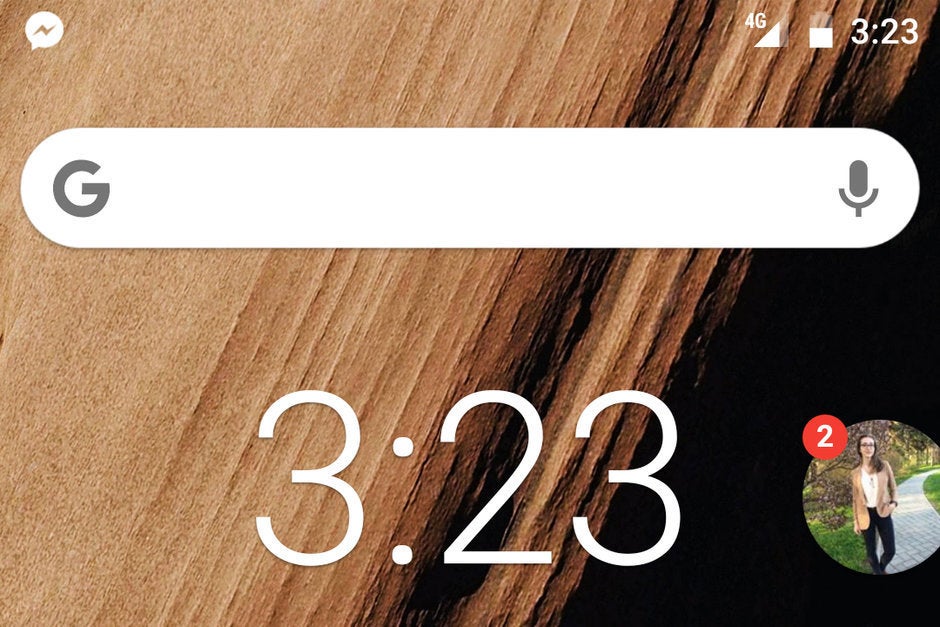
First introduced way back in 2013, Facebook's chat heads represent a quick way to keep in touch with your friends while on the go. Some people might find them useful, but they can get annoying after a while. Interestingly, this feature is only available on Android, as Apple typically does not allow third-party applications to draw UI over iOS.
To disable chat heads for good, open up Messenger, then tap on your profile icon at the top left. From there, scroll down until you see the "Chat Heads" toggle and tap on it. If you wish to enable it at a later point, just repeat the same steps.
You can send money via Messenger
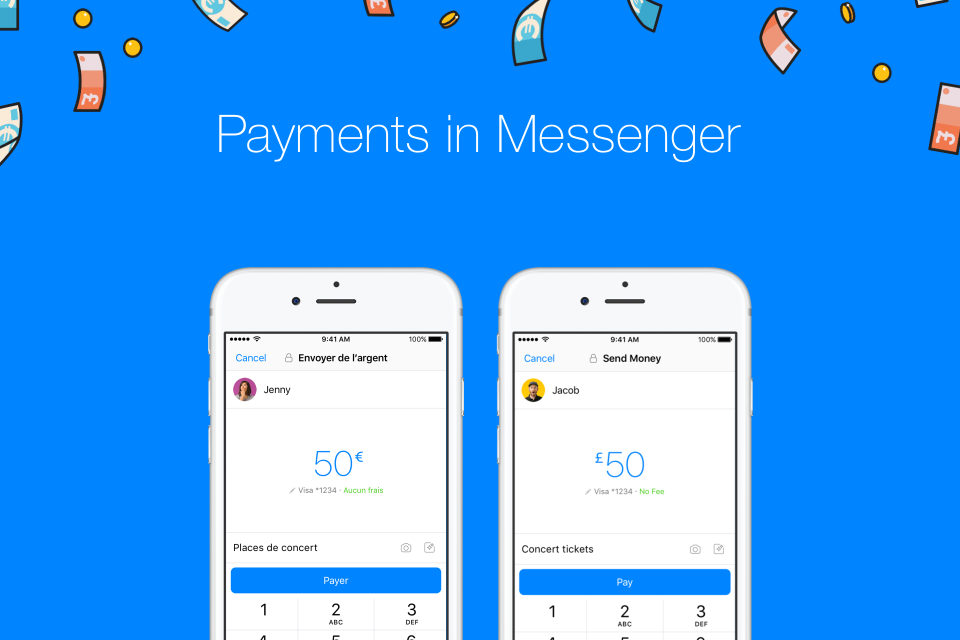
Another neat perk of Messenger is that you can send or request money directly through the app. However, keep in mind that this is not available in every country. The easiest way of doing so is by tapping on the plus icon while in a conversation and then tapping Payments. From there, select the recipient and type in the amount. You'll have to enter a credit card or PayPal if you don't have such information already stored in the app. You can send or request money from a single chat or while in a group with multiple people.
Request a ride
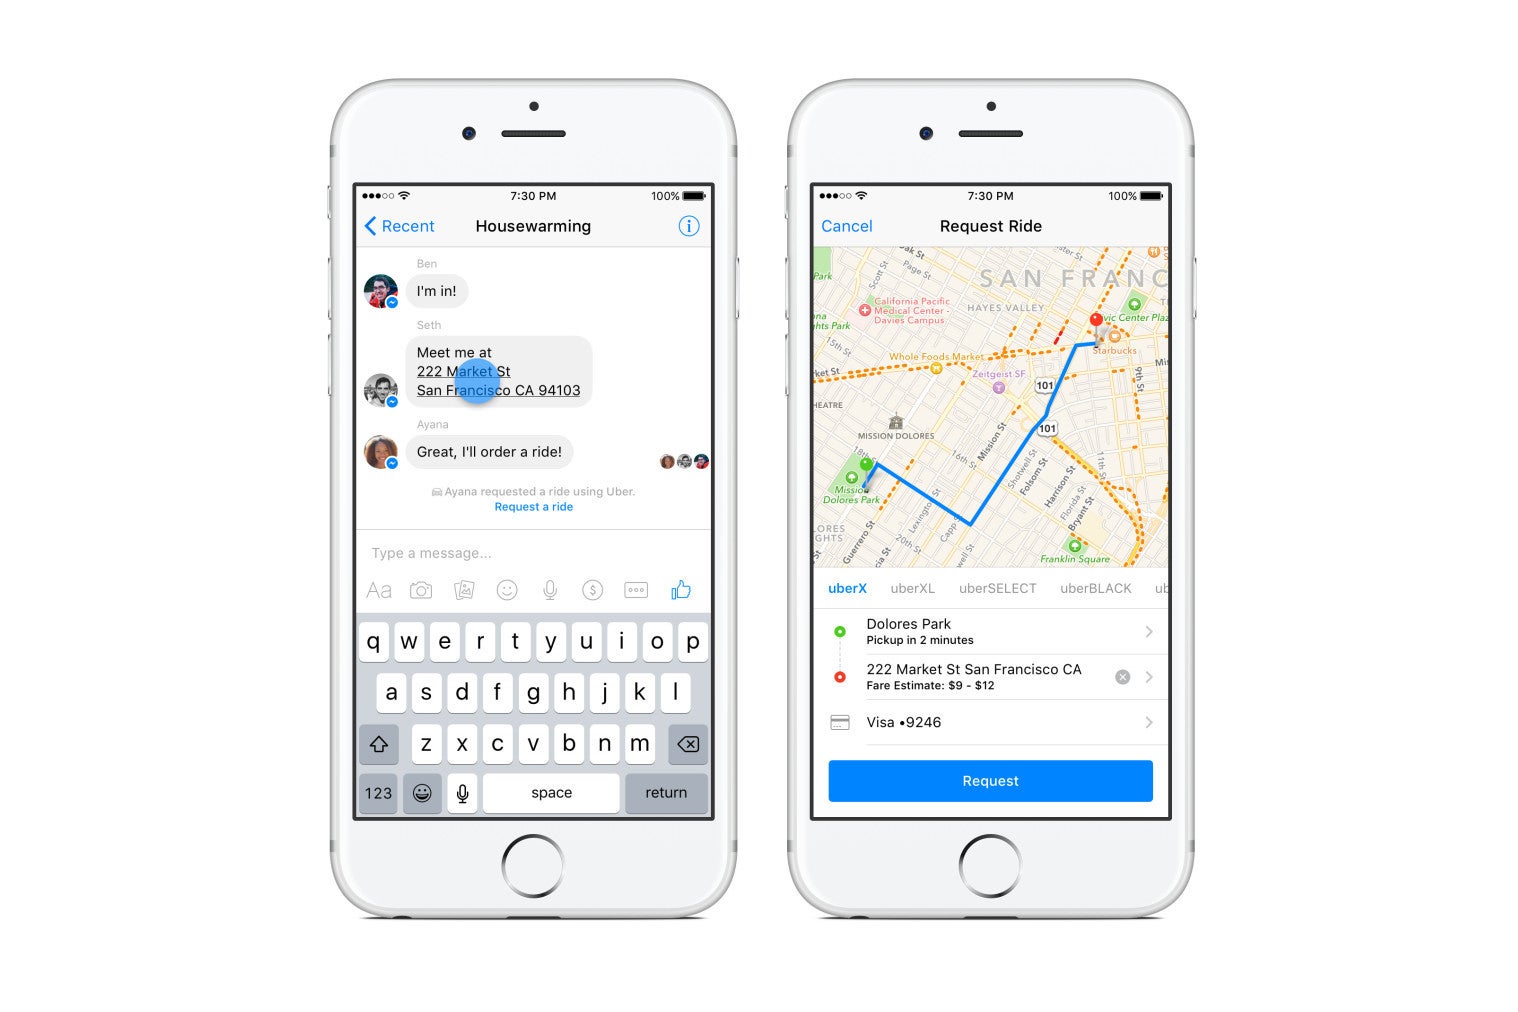
With Facebook Messenger for iOS and Android, you can even get an Uber and/or Lyft ride without leaving the app itself. However, keep in mind that the service is available only in the cities where you can hail an Uber or Lyft in the first place, and that you have to download and be signed up inside the respective apps.
On iOS, launch any conversation and tap on the More/three-dot menu inside the chat window. Then, tap on Transportation, choose a company, and request a ride.
As for Android, launch any conversation and just click the little car button on the bottom of your screen.
The profile codes are there for a reason
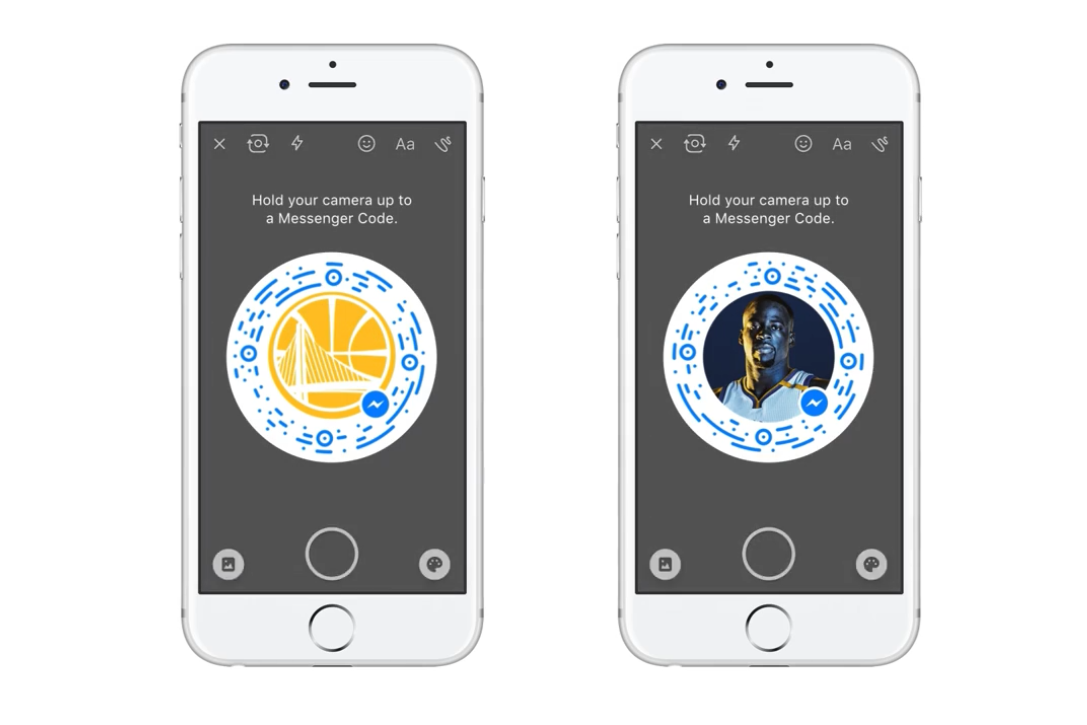
Those blue dots and lines around your profile pic in the "Me" menu aren't just there for aesthetics! They are actually a unique code that allows you to quickly exchange Facebook profiles with someone you've met in person.
To see, share, or scan a Messenger code, tap your profile photo at the top of your screen. Then, you should see a larger version of your profile pic with the aforementioned blue lines and dots surrounding it. Tap on that one, and then either scan a person's code or share yours.
Find filtered messages
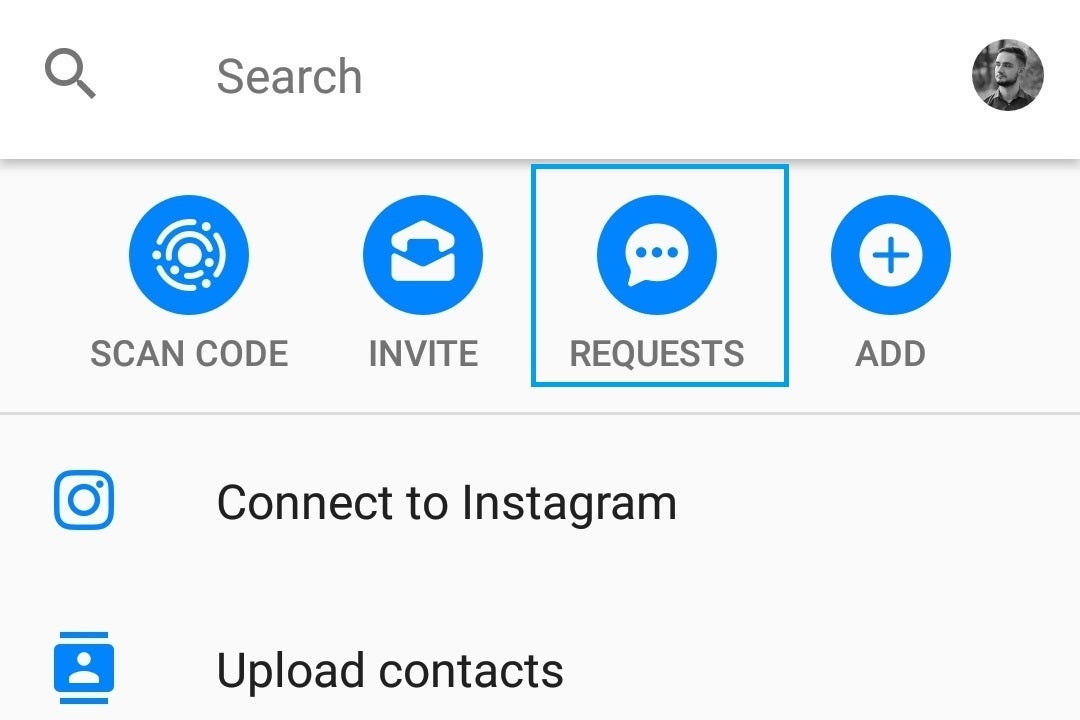
Last but not least, we have to mention the "other" inbox that is well-hidden in Messenger. This is sort of a spam inbox containing messages that aren't from your friends or from contacts that are deemed sketchy by Facebook. Most of the stuff in there won't be of much use to you, but you might actually find messages from people you know that didn't send a friend request for some reason.
To access it, hit the "People" icon at the bottom of the main page in Messenger. After that, press the icon that's in the top right corner. Then, you should see a "Requests" icon at the top of your screen. That's it!
There you go, 9 awesome tips, tricks, and hacks for Facebook Messenger on Android and iOS! Did you find them useful? Do you have a super tip that we haven't mentioned? Let us know in the comments below!




Things that are NOT allowed: