Astrophotography with the LG G4, or how I used a smartphone to take awesome photos of the night sky
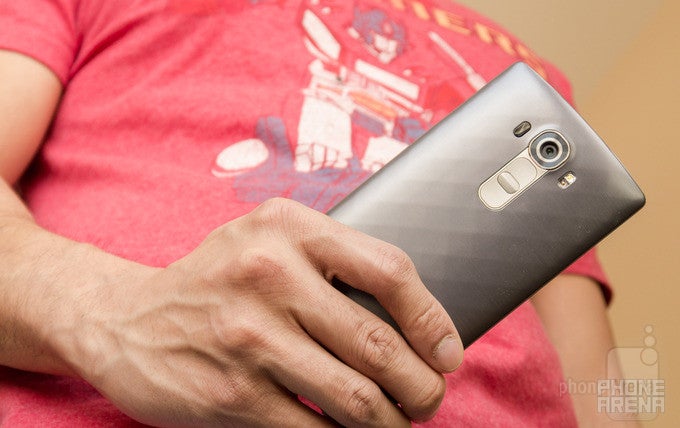
Being at the right place at the right time
Taking photos of the night sky is a tricky business, to say the least. You cannot just point your camera up and expect it to capture a decent image. That's because light pollution – light emitted at night by buildings, houses, street lamps and what not – makes stars barely visible with a naked eye. Your camera's sensor can't see much of their twinkling light either. To overcome this obstacle, a couple of friends and I drove about 12 kilometers (~7.5 miles) away from the city, where light pollution was not an issue. Luckily for us, the sky was clear, and the weather conditions were favorable. We were off to a good start.
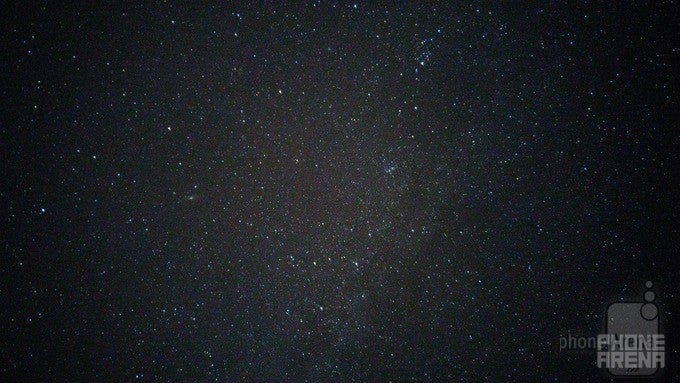
A view of the night sky captured with the LG G4. (ISO1000, 30s exposure time)
Setting up shop
In plain words, a photo is light captured over time, and at night, light is something you don't have much of. To compensate for its lack, a camera has to capture light over a longer period of exposure time – while a typical daytime photo may require a hundredth of a second to be captured, night-time photos might require several seconds of exposure to look decent. This is why you want your camera to be as stable as possible. Stability is of utmost importance, as every slight movement of the camera will inevitably produce motion blur. Using a camera with OIS might help, but only to a small extent.
While tripods and mounts for smartphone photography are available, I didn't have one to use. I had to improvise. The first idea that came to mind was to rest my LG G4 against the car's windshield. This solution worked, but it meant that I couldn't aim the camera at whatever part of the sky I wanted. Then I tried placing the phone on the ground or on the car's roof and resting it against my wallet. This approach worked like a charm.
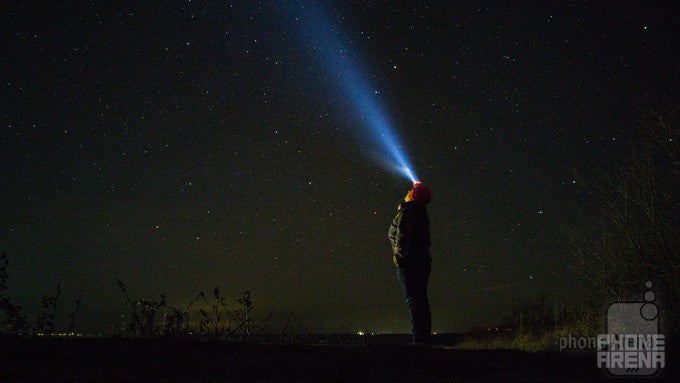
Stargazing. Thousands of stars were visible that night. (ISO500, 15s exposure time)
Configuring the camera manually
Using the right camera controls was crucial in my situation, as the LG G4's automatic mode was never going to produce the results I wanted. So I launched the camera in manual mode and started tinkering with the sliders. I knew I had to use a long exposure time – between 15 and 30 seconds – to allow the camera to capture plenty of light. This also gave me a better chance at capturing a shooting star, as it was a matter of luck as well. I had to point the camera at the right place at the right time. Using a high sensitivity setting was also essential, so I experimented with the higher of the available values – between ISO800 and ISO2000. No less importantly, I used the camera's self timer set to a 3-second delay. Without it, the tap of my finger on the shutter button would have certainly resulted in blurry photos. I was shooting the photos in RAW, of course. Focus was set to infinity, and the white balance was at 4400K. I didn't bother adjusting the latter precisely, as I was going to edit it later anyway.
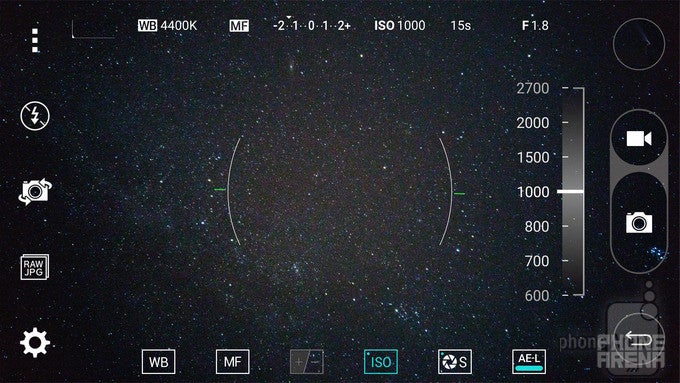
How I configured the LG G4 for astrophotography - ISO800~2000, 15~30 seconds exposure time, focus set to infinity, 3 seconds timer, photos saved as JPEG+RAW
The impressive results
I took about 60 photos that night over the course of roughly an hour and a half. Alas, I was not able to capture any of the brighter meteors – a couple were bright enough to cast our shadows on the ground – but I did capture at least one in photo #4 below. The longer bright trail of light is a passing plane, but the shorter one near it is an actual shooting star. All in all, the photos aren't looking too shabby for something taken with a smartphone. And while I did enhance the RAW files to produce the shots I wanted, I'd say that even the JPEGs straight out of the camera look quite impressive. What do you, guys, think?
Follow us on Google News






Things that are NOT allowed:
To help keep our community safe and free from spam, we apply temporary limits to newly created accounts: